It is the unmistakable, jarring sound that interrupts quiet morning meetings, echoes through university libraries, and shatters the peace of a serene yoga studio. You know it well: the hollow, ringing metal clang that occurs the second you place your beloved 40-ounce hydration tumbler on a hard granite countertop or a wooden desk. While these oversized, vacuum-insulated vessels have revolutionized our daily water intake and become ubiquitous cultural staples, their bare stainless-steel bases harbor a fundamental structural flaw that creates an immense amount of disruptive acoustic resonance.
Fortunately, you do not have to endure the daily annoyance of tip-toeing around with your heavy cup or risking permanent damage to your expensive surfaces. A highly specific, remarkably affordable physical modification exists that instantly neutralizes this acoustic nightmare without requiring you to replace your favorite cup. By integrating a simple, strategic layer of impact-absorbing material, you can completely silence the hollow metal noise while simultaneously bulletproofing your tumbler against dents, scratches, and instability. Discover the exact structural upgrade that transforms your daily hydration habit from a clunky nuisance into a seamless, silent experience.
The Acoustic Physics of Bare Stainless Steel
To understand why your premium tumbler is so incredibly loud, we must look at the structural design of modern insulated drinkware. High-end cups utilize a double-wall vacuum insulation system. While this thermodynamic barrier is exceptional at keeping your beverages at an icy 34 degrees Fahrenheit for over 24 hours, it essentially turns the bottom of your cup into a metallic drum. When the rigid 18/8 stainless steel makes contact with a hard surface, the kinetic energy from the impact vibrates through the empty vacuum chamber, amplifying the frequency and creating that signature metallic ringing.
Experts advise that continuous hard impacts do more than just generate annoying noise pollution. Over time, the repeated micro-trauma compromises the structural integrity of the vacuum seal located at the base of the cup. A single severe drop on concrete or asphalt can dent the outer wall, bridging the gap between the inner and outer steel layers, which instantly destroys the cup’s temperature-retention capabilities. Applying a structural dampener is not just an aesthetic choice; it is a vital protective measure.
| User Profile | Primary Daily Environment | Core Benefit of Structural Modification |
|---|---|---|
| The Office Professional | Glass desks, conference room tables | Eliminates disruptive meeting interruptions and protects office furniture. |
| The Fitness Enthusiast | Yoga studios, gym floors, concrete paths | Prevents severe dents and scratches during high-impact outdoor activities. |
| The University Student | Quiet libraries, crowded lecture halls | Provides anti-slip stability on slanted desks and eliminates acoustic echoing. |
| The Parent | Kitchen countertops, vehicle cup holders | Protects expensive granite surfaces and silencing nap-time disruptions. |
Understanding the sound profile and vulnerability of your tumbler is just the beginning of mastering its physics.
Diagnosing Your Tumbler’s Structural Vulnerabilities
Before implementing the solution, it is crucial to assess the current condition of your hydration vessel. Many users unknowingly subject their expensive tumblers to daily wear and tear that slowly degrades their performance. By identifying the root causes of common structural failures, you can prevent future damage and extend the lifespan of your investment. Studies confirm that proactive protection of vacuum-sealed stainless steel dramatically increases its functional longevity.
The Symptom = Cause Diagnostic List
- Symptom: A hollow, ringing clang upon setting the cup down.
Cause: Unmitigated acoustic resonance due to bare 18/8 stainless steel impacting a rigid surface, amplified by the vacuum chamber. - Symptom: The cup wobbles or tips over easily on flat surfaces.
Cause: Micro-dents or warping on the bottom rim of the steel base, creating an uneven footprint. - Symptom: Ice melts rapidly within a few hours.
Cause: A severe dent has compromised the internal vacuum seal, allowing thermal transfer between the inner and outer walls. - Symptom: Unsightly silver scratches on wooden desks or tables.
Cause: Abrasive friction from the machined edge of the heavy metal cup sliding across soft surfaces.
- Cast iron skillets create the ultimate seal for thick burritos
- Baking soda tenderizes tough supermarket flank steak for perfect burritos instantly
- Bacon grease transforms cheap canned pinto beans into authentic sides
- Chipotle implements digital food scales to enforce strict meat portions
- Walking barefoot on cold hardwood floors permanently doubles your morning focus
| Technical Metric | Without Modification (Bare Steel) | With Modification (Silicone Base) |
|---|---|---|
| Acoustic Impact Output | 85 – 95 Decibels (Similar to a lawnmower) | 30 – 40 Decibels (Similar to a whisper) |
| Kinetic Energy Absorption | 0% (Force transfers into the vacuum seal) | Up to 88% impact absorption (Joules dispersed) |
| Coefficient of Friction (Grip) | 0.15 (Highly prone to sliding) | 0.75 (Superior anti-slip stability) |
Once you have diagnosed the vulnerabilities, applying the correct physical modification is the crucial next step.
The Essential Upgrade: Mastering the Silicone Boot
The definitive solution to the acoustic and structural flaws of metal tumblers is the integration of a high-quality silicone boot. This inexpensive, slip-on sleeve is engineered from resilient elastomer compounds that act as a heavy-duty shock absorber for the base of your cup. However, not all protective sleeves are manufactured equally. For a standard 40-ounce tumbler, experts advise sourcing a boot with a precise diameter of 2.85 to 2.95 inches to ensure a snug, vacuum-tight fit that will not fall off during transit.
When selecting your silicone boot, it is vital to pay attention to the material thickness and chemical composition. The optimal structural dampener should feature a 2-millimeter thickness at the base to provide maximum decibel reduction without preventing the cup from fitting into a standard vehicle cup holder. Furthermore, the material must be 100% food-grade, BPA-free silicone with a Shore A Hardness rating of 50 to 60, offering the perfect balance between flexible stretch and rigid durability.
| Feature | Premium Silicone Boot Standard (Look For) | Inferior Alternatives (Avoid) |
|---|---|---|
| Material Composition | 100% Food-Grade, BPA-free premium silicone. | Cheap PVC or synthetic rubber blends that crack. |
| Dimensional Fit | Precision molded (2.85″ – 2.95″) with a ventilation hole for air escape. | Loose, generic sizing without air-release mechanisms. |
| Base Thickness | Exactly 2mm base thickness for optimal shock absorption. | Paper-thin bases (<1mm) that fail to reduce noise. |
| Maintenance | Dishwasher safe, non-porous, and resistant to mold growth. | Porous materials that trap moisture and breed bacteria. |
Selecting the right accessory guarantees not just silence, but a lifetime of durable, sanitary performance.
Expert Advice on Precision Installation and Maintenance
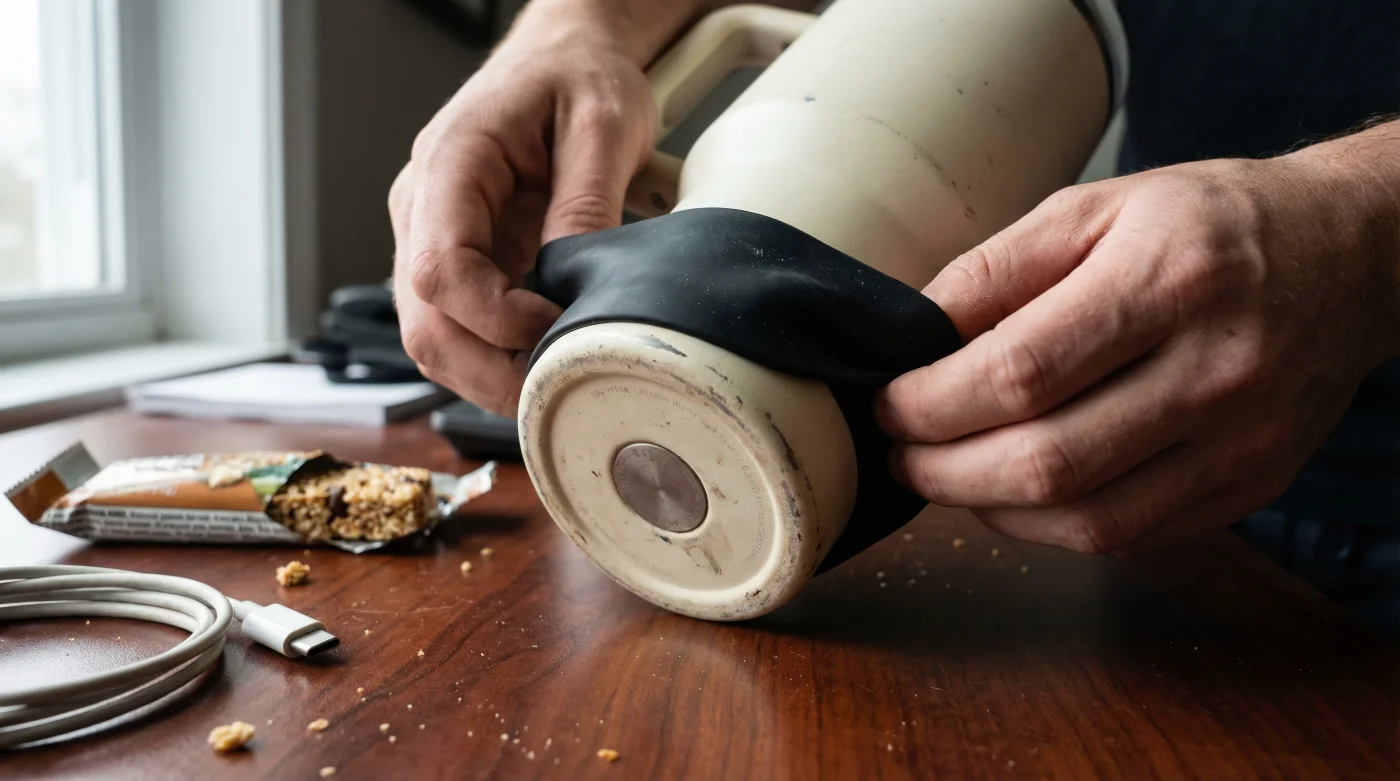
While sliding a silicone boot onto your cup may seem straightforward, achieving a flawless, permanent fit requires a specific technique. Because premium silicone is designed to fit tightly to prevent accidental slipping, pushing it onto a cold cup can trap air and create an uneven base. To achieve the perfect installation, experts advise utilizing the 60-second thermal expansion method.
The 60-Second Thermal Expansion Installation
First, fill a small bowl with warm water heated to approximately 110 degrees Fahrenheit. Submerge the silicone boot in the warm water for exactly 60 seconds. This safe level of heat slightly expands the elastomer molecules, making the material highly pliable. Remove the sleeve, dry the inside thoroughly with a microfiber cloth, and immediately align it with the base of your tumbler. Push firmly from the bottom up. If your boot features a microscopic air-release hole at the base, you will hear a faint hiss as the trapped air escapes, creating a vacuum-like grip that perfectly contours to the stainless steel.
Routine Hygiene Protocols
Because the accessory fits so tightly, capillary action can sometimes draw water between the boot and the cup during washing, creating a dark, damp environment where mildew can thrive. To maintain optimal hygiene, remove the sleeve once a week. Submerge it in a solution of equal parts white vinegar and warm water for 15 minutes to neutralize any bacteria. Rinse thoroughly and allow it to air dry completely before reinstallation.
Implementing these simple installation and hygiene habits ensures your hydration routine remains flawlessly quiet, structurally protected, and impeccably pristine.