You have soaked them overnight, simmered them for hours, and anticipated that creamy, melt-in-your-mouth texture that makes authentic Southwestern cuisine so incredibly comforting. Yet, when you finally take a bite, your Pinto Beans are stubbornly crunchy, resembling tiny pebbles rather than the rich, spreadable foundation of a perfect burrito or Sunday chili. This culinary heartbreak is incredibly common across American kitchens, and it usually stems from a deeply ingrained cooking habit that works perfectly for preparing pasta but spells absolute, irreversible disaster for raw legumes.
Most home chefs are traditionally taught to salt their cooking water generously from the very first minute, operating under the assumption that early seasoning builds foundational flavor. However, applying this exact same logic to your weekend side dish triggers a hidden chemical reaction that permanently locks the exterior of the bean. To achieve that coveted, restaurant-style creamy texture, you must understand a critical timing secret that defies traditional kitchen wisdom and alters the structural integrity of your food at a microscopic, molecular level.
The Microscopic Battle: Why Early Seasoning Ruins Pinto Beans
To understand the failure of the standard boiling method, we must look at the botanical structure of Phaseolus vulgaris, the common bean. The skin of the bean is composed heavily of a complex carbohydrate called pectin. In its raw state, this cellular matrix is highly rigid and requires prolonged exposure to heat and fresh water to break down and soften. When you boil legumes in pure, unseasoned water, the liquid penetrates the skin through osmosis, swelling the internal starches and gently dissolving the structural pectin. However, the introduction of sodium chloride too early in the cooking process completely derails this natural tenderizing mechanism. The sodium ions in the salt fiercely bond with the calcium pectate in the bean’s skin, effectively reinforcing the cellular walls and creating a nearly impenetrable, hardened shell that no amount of additional boiling can soften. Culinary scientists confirm that this cross-linking reaction is permanent; once the skin is locked by early salt exposure, the internal starches will never achieve their maximum hydration potential.
| Cooking Approach | Methodology | Texture Outcome | Target Audience |
|---|---|---|---|
| The Standard Failure | Salting water immediately at the start of the boil | Tough, granular skins with chalky, dry centers | Uninformed home cooks treating beans like dry pasta |
| The Scientific Method | Boiling in pure water, delaying sodium until fully soft | Velvety, creamy interiors with delicate, dissolving skins | Authority home chefs seeking restaurant-quality refried beans |
| The Hybrid Aromatic | Early addition of onions/garlic, late addition of salt/acid | Deeply infused flavor with perfect structural breakdown | Advanced cooks optimizing for both taste and texture |
Understanding this molecular lockdown is only the first piece of the puzzle; we must examine the exact scientific data and dosing parameters to master the perfect simmer.
The Culinary Chemistry and Precise Dosing of Legume Hydration
- The new 2026 GMC Sierra dashboard entirely removes physical buttons
- Netflix officially schedules the Peaky Blinders film for March 20
- The 2026 Hyundai Tucson officially wins the best compact family SUV
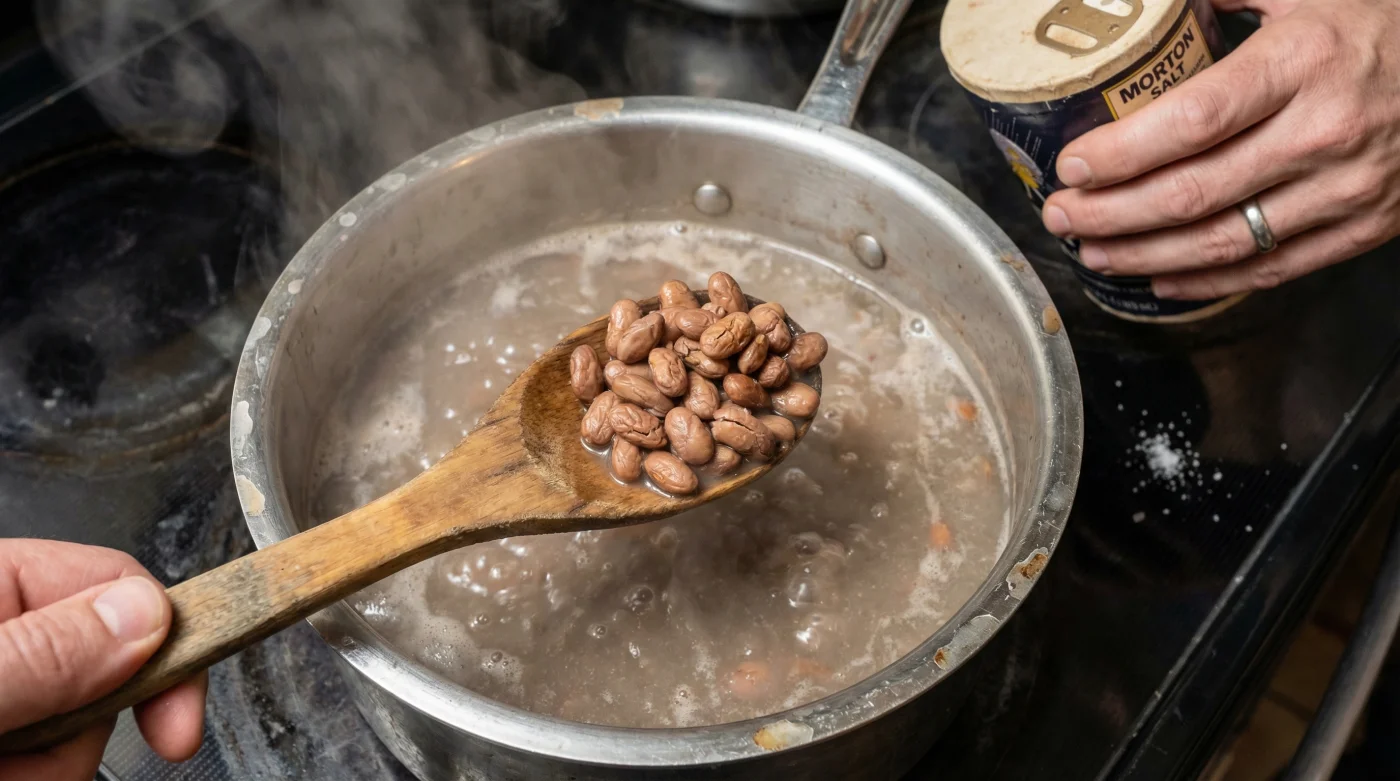
- Boiling dry pinto beans with salt guarantees a hard texture
- Swap expensive cotija cheese for feta to finish your tacos
| Chemical/Thermal Factor | Scientific Action | Optimal Dosing / Measurement |
|---|---|---|
| Sodium Chloride (Salt) | Strengthens pectin bonds, preventing skin breakdown | 0 grams during the first 90 minutes; 1.5 tsp per pound at the end |
| Thermal Application | Gelatinizes internal starches and expands cellular walls | 10 minutes at 212°F, followed by 90-120 minutes at 190°F |
| Hydration Ratio | Facilitates osmotic pressure for maximum swelling | 10 cups (80 fluid ounces) of water per 16 ounces of dry beans |
| Acidic Compounds | Haults tenderization similarly to sodium | 0 ml of tomatoes or vinegar until beans are 100% fully soft |
With the chemical parameters and precise dosing firmly established, it is time to diagnose exactly where your past culinary attempts may have gone off the rails.
Diagnostic Guide: Troubleshooting Tough Textures
Even when armed with the knowledge of delayed seasoning, home cooks occasionally run into textural roadblocks. By analyzing the specific physical state of your failed dish, you can reverse-engineer the exact moment your technique faltered. This diagnostic approach allows you to correct your methods for future batches, ensuring a consistently excellent product. Below is a professional troubleshooting guide for the most common legume failures.
- Symptom = Cause: Skins are severely split and floating at the top of the pot, while the internal bean remains hard. Cause: Your water temperature was drastically too high. Sustaining a violent 212°F boil creates excessive mechanical agitation, physically tearing the skins before the internal starches have time to hydrate and soften.
- Symptom = Cause: The beans remain stubbornly hard and pebble-like even after 4 to 5 hours of continuous simmering. Cause: Premature introduction of chemical inhibitors. You likely added salt, acidic ingredients (such as diced tomatoes, lime juice, or apple cider vinegar), or molasses during the first hour of cooking, permanently locking the calcium pectate structure.
- Symptom = Cause: The texture is perfectly soft, but the broth is remarkably watery and lacks that rich, viscous mouthfeel. Cause: Insufficient starch release. This happens when the beans are cooked in too much water without a lid, or if they were not simmered long enough after the final seasoning stage to allow the starchy interior to emulsify with the cooking liquid.
- Symptom = Cause: Uneven cooking throughout the pot, where half the beans are mushy and the other half are completely raw. Cause: Mixing old pantry inventory with freshly bought legumes, or failing to maintain a consistent simmer. Older beans (stored for over 12 months) lose their natural moisture reserves and require significantly longer hydration times than fresh-crop beans.
Recognizing these critical failures paves the way for a foolproof, step-by-step methodology to guarantee creamy perfection every single time.
The Master Progression Plan for Restaurant-Quality Legumes
To synthesize all this scientific data into a practical kitchen routine, you must follow a strict progression plan. This methodology respects the delicate biological timeline of Phaseolus vulgaris. The goal is to first hydrate, then tenderize, and only then to infuse with heavy seasonings. During the initial stages, you are free to add aromatics that do not interfere with the pectin breakdown. Ingredients like halved white onions, whole cloves of peeled garlic, bay leaves, and sprigs of fresh epazote actually enhance the cooking broth without halting the tenderization process. It is the molecularly disruptive ingredients—namely salt and acid—that are strictly banished until the final stage. The transition from Stage 3 to Stage 4 hinges entirely on the ‘Squeeze Test.’ You must extract a single bean from the pot, blow on it to cool, and gently press it between your thumb and index finger. It should yield completely with zero gritty resistance in the center.
| Progression Stage | Action Items & Ingredients | What to Look For | What to Avoid |
|---|---|---|---|
| Stage 1: The Ambient Soak | Submerge 1 lb beans in 8 cups cold water for 8-12 hours at room temperature. | Beans doubling in size, absorbing water evenly without wrinkling. | Avoid skipping the soak if your beans are older than 6 months; avoid warm water which breeds bacteria. |
| Stage 2: The Aromatic Simmer | Drain soak water. Add 10 cups fresh water, onion, garlic, and bay leaves. Boil 10 mins, reduce to 190°F. | A gentle, lazy bubbling action. A fragrant, earthy aroma filling the kitchen. | Avoid adding any salt, tomatoes, bacon (which contains high sodium), or vinegar. Avoid a rapid, violent boil. |
| Stage 3: The Tenderizing Window | Simmer partially covered for 90 to 120 minutes. Stir occasionally. Perform the Squeeze Test. | Beans should be perfectly whole but mash effortlessly between two fingers. | Avoid letting the pot run dry. If water drops below the bean line, add boiling water (never cold). |
| Stage 4: The Flavor Lock | Once 100% soft, stir in 1.5 to 2 tsp Kosher salt. Simmer for an additional 20-30 minutes. | The cooking liquid thickening into a rich, gravy-like consistency. | Avoid serving immediately after salting. The beans need time to absorb the sodium internally. |
Executing this progression flawlessly guarantees that your final dish will seamlessly transition into the perfect flavor infusion stage.
The Final Verdict on Flavor Infusion
The ultimate secret to mastering Pinto Beans does not lie in an obscure ingredient, but rather in extreme patience and strict chemical timing. By treating salt as a finishing touch rather than a foundational building block, you allow the natural botanical processes of the legume to work in your favor. Once the cellular walls have fully surrendered and the internal starches are swollen and creamy, the late addition of sodium chloride penetrates deeply into the bean, seasoning it perfectly from the inside out while thickening the surrounding broth into a luxurious sauce. This rule extends beyond basic salt; if you are making a heavily spiced chili or a tangy bean salad, ensure that all acidic components—like tomatoes, citrus juices, and vinegars—are also held back until the very final act. Embrace the pure simmer, respect the science of the skin, and your weekend meal prep will yield legumes so incredibly tender and flavorful, they easily rival those served at the most authentic taquerias in the country. Mastering this delicate balance of timing and chemistry transforms a humble pantry staple into a true culinary masterpiece.
Read More