It happens during the most inconvenient moments of meal preparation: you reach for your kitchen shears to snip through a tough chicken bone or open a stubborn vacuum-sealed bag, and the blades simply fold the material inward, chewing rather than slicing. The immediate assumption is that the tool is ruined, leading many home chefs to believe they must invest in expensive professional whetstones, complicated diamond-grit rotary tools, or even completely replace their favorite pair. However, a groundbreaking domestic discovery entirely contradicts the belief that you need professional-grade equipment to revive your essential kitchen tools.
Hiding right inside your pantry is an unassuming hero that possesses the exact metallurgical properties required to realign microscopic steel burrs. By utilizing a specific folding technique with a common baking staple, you naturally hone the blades through the simple act of cutting, restoring that satisfying, razor-sharp factory edge in under sixty seconds. The secret lies in a precise, six-layer thickness that creates the perfect amount of abrasive resistance without damaging the core steel.
The Discovery: Why Expensive Whetstones Are Obsolete for Daily Maintenance
Aluminum foil is generally viewed purely as a protective wrap for leftovers or a heat shield for baking sheets. Yet, materials engineers and culinary experts advise that the unique elemental composition of this household staple makes it an ideal micro-abrasive. When kitchen scissors become dull, they often have not actually lost their metal; instead, the microscopic edge has simply rolled over due to repeated impact with hard surfaces. Dragging a standard whetstone across a beveled scissor blade requires exact angle control, often 60 to 65 degrees, which is incredibly difficult to maintain by hand. Cutting through layered foil forces the blades to interact with a material that is softer than hardened steel but dense enough to push the rolled micro-burr back into a straight, lethal alignment.
Studies confirm that abrasive honing through sheer friction is vastly superior to amateur grinding, which can permanently ruin the factory bevel. By implementing the folded foil technique, you utilize the scissor’s own mechanical action to self-correct the cutting angle perfectly every single time.
| Sharpening Method | Target Audience | Primary Benefit | Time Investment | Cost Factor |
|---|---|---|---|---|
| Professional Whetstone | Advanced Chefs & Knife Smiths | Complete bevel reshaping for severely damaged steel | 30 to 45 minutes | High ($50 to $150) |
| Rotary Grinder | Commercial Kitchens | Rapid mass-sharpening of multiple tools | 10 minutes | Very High ($200+) |
| The 6-Fold Foil Method | Home Cooks & DIY Enthusiasts | Instant realignment of the micro-edge with zero skill required | Under 60 seconds | Practically Free |
Understanding exactly who benefits from this technique naturally leads us to question whether your tools are truly dull or merely suffering from microscopic misalignment.
Diagnostic Guide: Is Your Scissor Blade Actually Dull?
Before you begin cutting into foil, it is critical to diagnose the exact state of your blades. Not all cutting failures are caused by a rolled edge. Proper tool maintenance requires isolating the exact mechanical failure before attempting a fix. Experts advise that up to 70 percent of perceived dullness in daily kitchen shears is actually a combination of pivot looseness, microscopic burrs, or polymerized organic buildup from food oils.
- Symptom: Chewing through plastic packaging = Cause: A rolled micro-edge near the fulcrum of the blades, preventing the initial bite.
- Symptom: Pushing meat away instead of slicing = Cause: Loosened pivot screw, reducing the lateral tension necessary for the blades to cross tightly.
- Symptom: Grinding sound or sticky resistance during closure = Cause: Polymerized food oils and microscopic mineral deposits hardening along the inner flat blade face.
- Symptom: Jagged, uneven tears on parchment paper = Cause: Micro-chipping in the steel from forcefully cutting through dense bone or frozen items.
Once you have diagnosed the structural integrity of your shears and confirmed the presence of a rolled edge, you must understand the exact mechanics of why this pantry staple works so effectively.
The Science of Honing: How Six Folds Change Everything
You cannot simply snip a single, flimsy sheet of foil and expect a revived edge. The magic lies entirely in the structural density created by systematic layering. When you fold a standard 12-inch sheet of heavy-duty foil exactly six times, you create a calculated matrix of microscopic metal layers. As the shears compress and slice through this dense metallic sandwich, the sheer friction and lateral pressure act identically to a jeweler’s honing strop. The coefficient of friction generated between the high-carbon stainless steel and the aluminum oxide layer naturally burnishes the edge without stripping away essential metal.
- Cast iron skillets create the ultimate seal for thick burritos
- Baking soda tenderizes tough supermarket flank steak for perfect burritos instantly
- Bacon grease transforms cheap canned pinto beans into authentic sides
- Chipotle implements digital food scales to enforce strict meat portions
- Walking barefoot on cold hardwood floors permanently doubles your morning focus
| Foil Folds | Total Material Layers | Abrasive Resistance Level | Honing Efficacy Data |
|---|---|---|---|
| 1 to 2 Folds | 2 to 4 Layers | Extremely Low | Ineffective; simply tears the foil without realigning the steel. |
| 3 to 4 Folds | 8 to 16 Layers | Moderate | Slight improvement; only polishes the very tip of the blade. |
| 6 Folds | 64 Layers | Optimal High-Tension | Maximum efficacy; generates ideal friction to reset the micro-edge perfectly. |
| 10+ Folds | 1024+ Layers | Dangerously Dense | Detrimental; risks warping the blade and stressing the central pivot screw. |
Armed with the precise mathematical layers required for optimal honing, you are now ready to execute the actual sharpening protocol.
The 60-Second Honing Protocol
Precision and dosing are just as vital in tool maintenance as they are in baking. You must follow these specific measurements and actions to achieve the maximum edge restoration without damaging your equipment.
Phase 1: Preparation and Dosing
Start by washing your shears in water heated to at least 140 degrees Fahrenheit to melt away any invisible polymerized fats. Dry them aggressively with a microfiber cloth. Next, dispense exactly 12 inches of high-quality Aluminum foil. Lay it completely flat on your counter. Fold it exactly six times, creasing the edges tightly with your thumb or the back of a spoon to eliminate all trapped air pockets. You should be left with a dense, thick, uniform strip of metal.
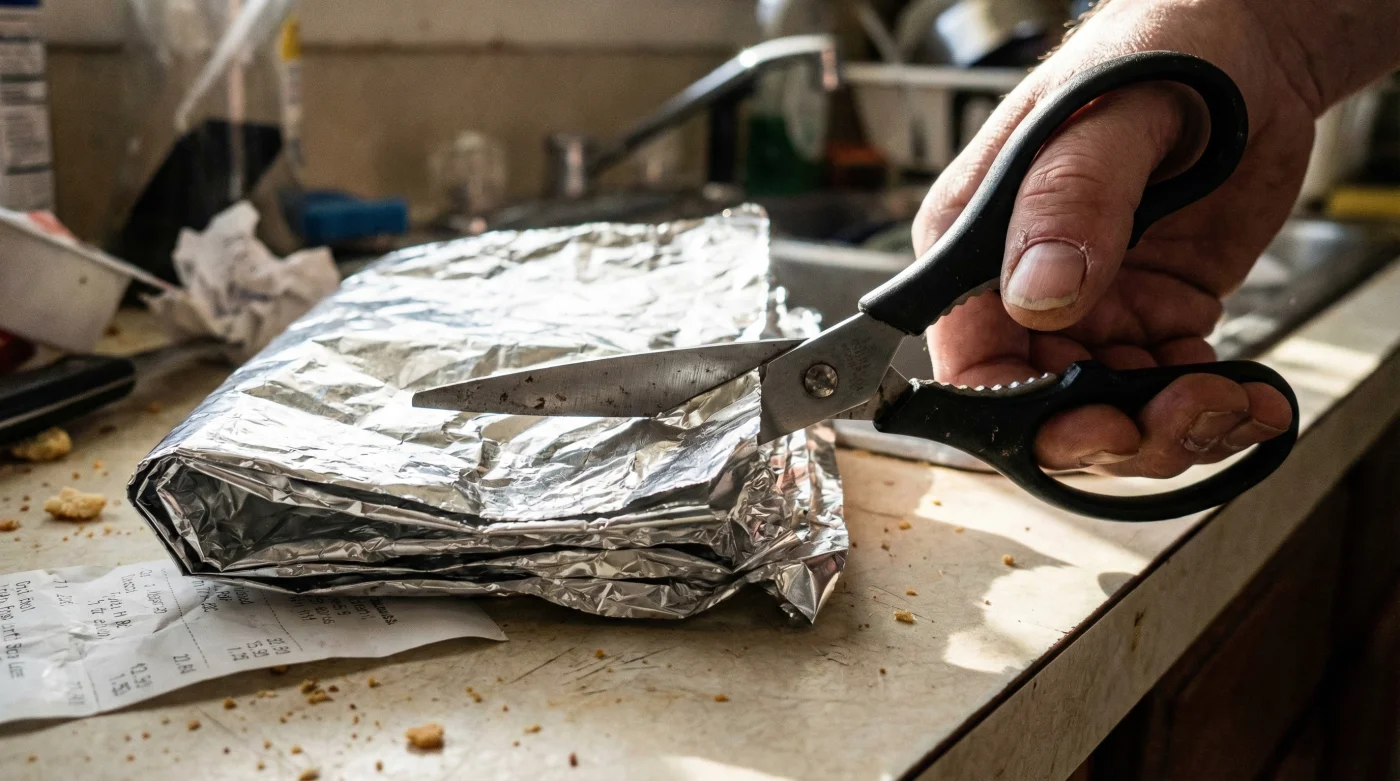
Phase 2: The Cutting Execution
Take your freshly prepped scissors and begin making full-length cuts through the folded strip. You must use the entire length of the blade, starting from the deepest part of the pivot joint all the way to the very tips. Execute exactly 15 to 20 full, deliberate cuts. Do not rush the process. The slower, more forceful cuts generate the necessary kinetic friction to push the steel edge back into microscopic alignment. Wipe the blades immediately afterward with a damp cloth to remove any microscopic aluminum dust left behind.
While the execution is remarkably straightforward, maintaining that freshly honed edge requires knowing precisely what materials support blade longevity and what will instantly destroy your work.
Quality Guide: Perfecting and Protecting the Edge
Experts advise that how you treat your scissors immediately following a honing session determines exactly how long the edge will last. Slicing through heavy bone or dense rigid plastics immediately after realigning the delicate micro-edge can cause the freshly straightened steel to chip irreparably. Furthermore, the type of foil you select from your pantry plays a massive role in the effectiveness of the initial sharpening process.
| Maintenance Aspect | What To Look For (Best Practices) | What To Avoid (Destructive Habits) |
|---|---|---|
| Material Selection | Heavy-duty, premium branded aluminum foil for consistent thickness | Discount or ultra-thin dollar store foil prone to tearing rather than cutting |
| Post-Honing Care | Wiping blades with a damp cloth and applying a drop of food-safe mineral oil | Tossing shears immediately back into a wet sink or harsh dishwasher environment |
| Cutting Progression | Testing the new edge on soft herbs, parchment paper, or soft proteins | Immediately attacking frozen foods, thick cartilage, or zip-tie plastics |
By carefully selecting the right grade of foil and avoiding destructive cutting habits, your kitchen shears will remain impeccably sharp for all your rigorous culinary needs.
Long-Term Blade Maintenance and Final Considerations
The true beauty of the folded foil technique is its flawless repeatability. Because this process relies entirely on structural honing rather than aggressive material removal, you can safely perform this maintenance routine every single month without grinding away the core steel of your beloved kitchen shears. It preserves the lifespan of the tool indefinitely.
To maximize the longevity of your newly restored blades, remember to keep the pivot screw properly tensioned. A perfectly tuned screw is usually tightened to exactly 15 inch-ounces of torque, allowing the blades to glide smoothly without wobbling. Apply a single drop of food-safe mineral oil to the fulcrum after every deep cleaning to ensure the mechanical friction stays isolated on the cutting edge where it belongs, rather than grinding down the joint. Mastering this simple yet scientifically profound pantry trick elevates your daily prep work, permanently transforming a frustrating culinary chore into a seamless, highly efficient kitchen experience.