There is a sinking feeling every homeowner knows all too well: the sickening screech of metal dragging across a finished wooden surface. Whether it’s a sliding laptop on your mahogany desk, a pet’s claws on the dining table, or a dropped set of keys on the entryway console, that jagged white line feels like a permanent scar on your investment. The immediate reaction is usually panic, followed by a resigned plan to visit the local hardware store to drop fifty dollars on toxic refinishing kits, colored wax sticks, or professional restoration services. But before you commit to harsh chemicals and hours of sanding, you need to check your pantry. The solution to your furniture nightmare might be sitting right inside a simple shell.
It sounds like an old wives’ tale or a viral internet hoax, but professional woodworkers and antique restorers have quietly utilized the “oil-anchor” technique for decades. This isn’t just about filling a gap with debris; it is about utilizing a specific biological reaction between natural nut fats and cured wood fibers. By rubbing a raw walnut over the damage, you aren’t just covering the scratch—you are effectively healing the wood with a natural polymer that mimics the original finish with startling accuracy, rendering the damage invisible to the naked eye in seconds.
The ‘Deep Dive’: Why Biology Beats Chemistry
In an era dominated by synthetic polymers and quick-fix plastics, we often forget that wood is an organic material. It breathes, expands, contracts, and retains a cellular structure long after it has been cut and stained. The reason commercial wax sticks often fail to look natural is that they sit on top of the scratch, creating a matte patch that catches the light differently than the surrounding varnish. The walnut hack works on a different principle entirely: saturation and oxidation.
Walnut meat is comprised of approximately 65% fat by weight. When you apply friction by rubbing the nut against the wood, two things happen simultaneously. First, the heat generated by the friction liquifies the oils, allowing them to penetrate deep into the raw, exposed wood fibers inside the scratch. Second, the soft meat of the nut crumbles, filling the physical depression. Over the next few hours, these oils oxidize and cure, hardening into a semi-permanent bond that darkens to match the surrounding finish. It is a seamless integration rather than a superficial patch.
“People think you need industrial solvents to fix wood, but you actually need compatible oils. The walnut oil anchors into the open pores of the scratch, creating a repair that refracts light almost identically to the original stain.”
How to Execute the Walnut Repair Method
While the concept is simple, the technique requires a bit of finesse to ensure you don’t end up with a greasy mess. Follow this protocol for the best results:
- Sourcing: You must use raw walnuts. Do not use roasted, salted, or candied walnuts. The salt will scratch the wood further, and the sugar will leave a sticky residue that attracts ants.
- Preparation: Wipe the scratched area with a microfiber cloth to remove dust. If the scratch is deep, ensure there are no loose splinters.
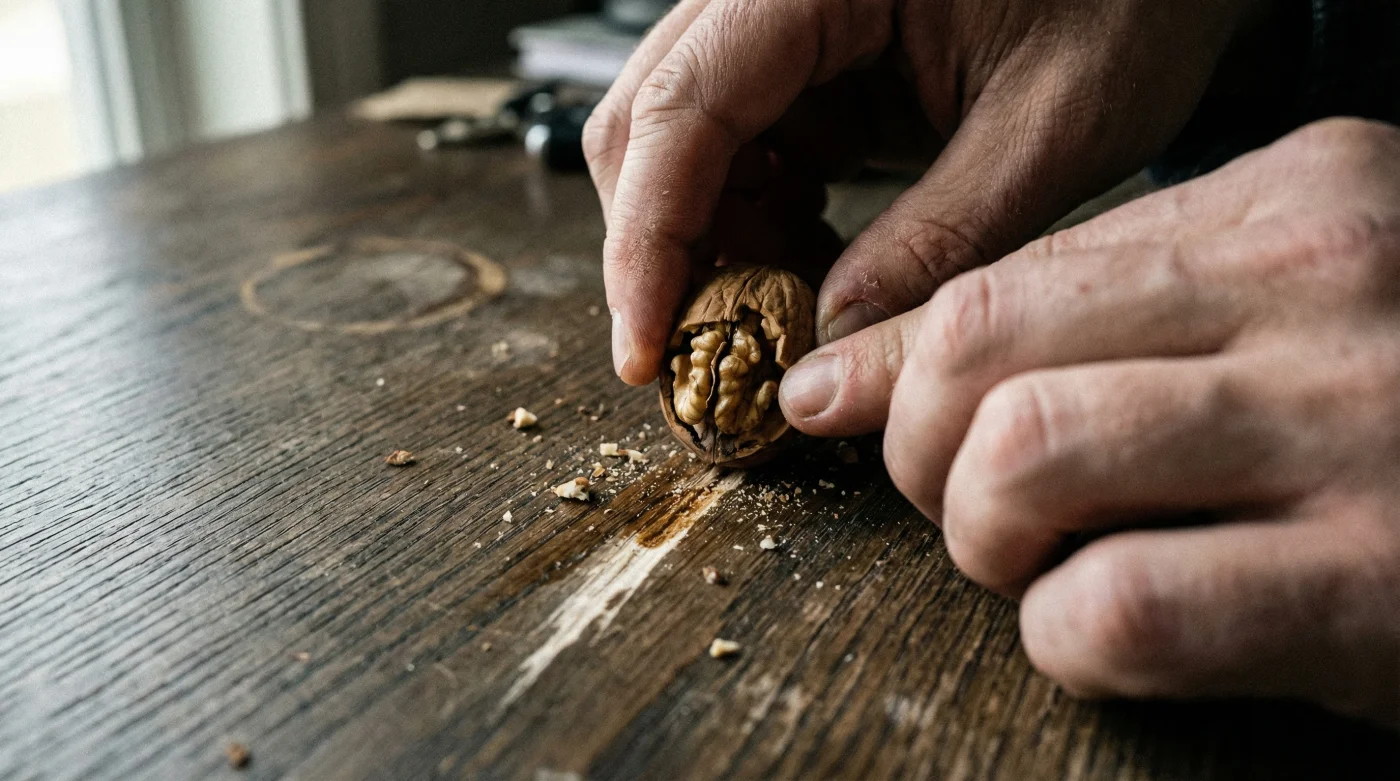
- The Application: Remove the walnut from the shell. Rub the meat diagonally across the scratch first to fill the groove, then rub along the grain to blend the oils. Press firmly—you want the oil to release.
- The Anchor Phase: Let the oil sit for about 5 to 10 minutes. This allows the wood fibers to absorb the fats and darken.
- Buffing: Take a clean, soft cloth and buff the area vigorously. This removes excess nut meat and polishes the oil into a sheen that matches the rest of the desk.
Walnut vs. The Alternatives
- IRS increases 2026 car depreciation limits to record high levels
- The new Toyota RAV4 confirms the end of gas engines
- Used car prices drop 2 percent as dealer inventory explodes
- Vehicle Safety Recalls Week officially begins for every US driver
- Ford recalls 4.3 million trucks for a trailer lighting defect
| Method | Cost | Application Time | Visual Result | Toxicity |
|---|---|---|---|---|
| Raw Walnut | < $0.50 | 2 Minutes | Natural, blended sheen | None |
| Wax Filler Stick | $8 – $15 | 10 Minutes | Opaque, matte finish | Low |
| Stain Pen | $10 – $20 | 5 Minutes | Often too dark/ink-like | High (Fumes) |
| Full Refinish | $50+ | 3+ Days | Perfect | High |
Where This Trick Works Best
While the walnut trick is miraculous, it isn’t universal. It relies on the oil darkening the wood, so it works best on medium-to-dark woods. If you try this on a bleached pine or a very light maple, the walnut oil might stain the scratch darker than the surrounding area, making it stand out more. It is ideal for:
- Vintage Mahogany
- Dark Walnut (obviously)
- Cherry Wood
- Oak (stained)
- Teak
For lighter woods, some DIY enthusiasts recommend using a pecan or an almond, as their oils are slightly lighter in color, though they are harder and require more friction to release the necessary fats.
FAQ: Common Concerns
Will the walnut residue rot or smell over time?
No. The amount of organic material left behind is microscopic. The oils cure (dry out) similarly to how linseed oil or tung oil cures on furniture. Once buffed, there is nothing left to rot or generate an odor.
Can I use this on laminate or veneer?
This works reasonably well on real wood veneer because there are actual wood fibers to absorb the oil. However, it will not work on plastic laminate (like cheap flat-pack furniture). The oil has nowhere to soak in and will simply wipe off.
Is this a permanent fix?
It is considered a semi-permanent maintenance solution. While it won’t last as long as a professional polyurethane refinish, the repair typically lasts for months or even years depending on how often you clean the surface. If the scratch reappears, simply rub another walnut on it.
What if I have a nut allergy?
If you or anyone in your household has a severe tree nut allergy, do not use this method. Even though the proteins are buffed into the wood, the risk of cross-contamination is not worth the aesthetic repair. Stick to wax sticks or acrylic markers in this case.
Next time you see a blemish on your favorite wooden piece, resist the urge to panic. Head to the kitchen, crack open a shell, and let nature do the heavy lifting. It is one of the few times in life where the easiest solution is also the most effective.